G-Damp Anti-Vibration Mats are designed to damp the vibration that leads to resonance and noise transfer. Application of G-Damp mats changes the natural resonant frequency of the metal structure and dramatically reduces the frequency sprectrum over which structural resonace occurs and the amplitutude of the sound waves. Basically less vibration equals less noise and this is good thing.
How to apply:
1) Preparation: Clean the sheet metal with a suitable product to remove all dirt, dust & grime. Products such as acetone and methylated spirits work well.
2) Trim: If necessary cut the G-Damp to size with a sharp blade. Note that it is perfectly acceptable for sheets of G-Damp to overlap each other. G-damp adheres to itself.
3) Apply: Peel the backing off the G-Damp, place it in position, apply pressure & smooth it over with your hands. Now use the roller applicator to apply firm pressure across the entire sheet to secure it in position.
Roller Applicators
We sell purpose made roller applicators for the installation of G-Damp. There simply is no better tool for the job. Be sure to order as many as you need to enable the work to progress swiftly.
Use Case Scenario's for G-Damp
Duct Wrap
The rushing air within ducts leads to structural resonance & noise, G-Damp effectively damps the vibration and resonance thus reducing the noise.
Transportation
Inside the cabin of cars, busses, trucks, caravans's etc.
Aviation
Airplanes, helicopters
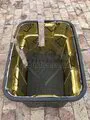
Generator Housing
Applied inside the sheet metal housing G-Damp adds mass & damps the vibration which helps with the noise attenuation. It should then be covered with our Class 0 Acoustic Foam.
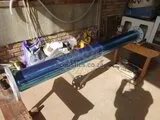
Power Generating Windmill
To reduce vibration and noise
> 3 Layers were applied to the pole of a small home scale wind turbine
Water Pump Housing
To add mass and attenuate noise transfer
What is G-Damp?
G-Damp consists of a self-adhesive, pure butyl, flame retardent base with a foil surface.
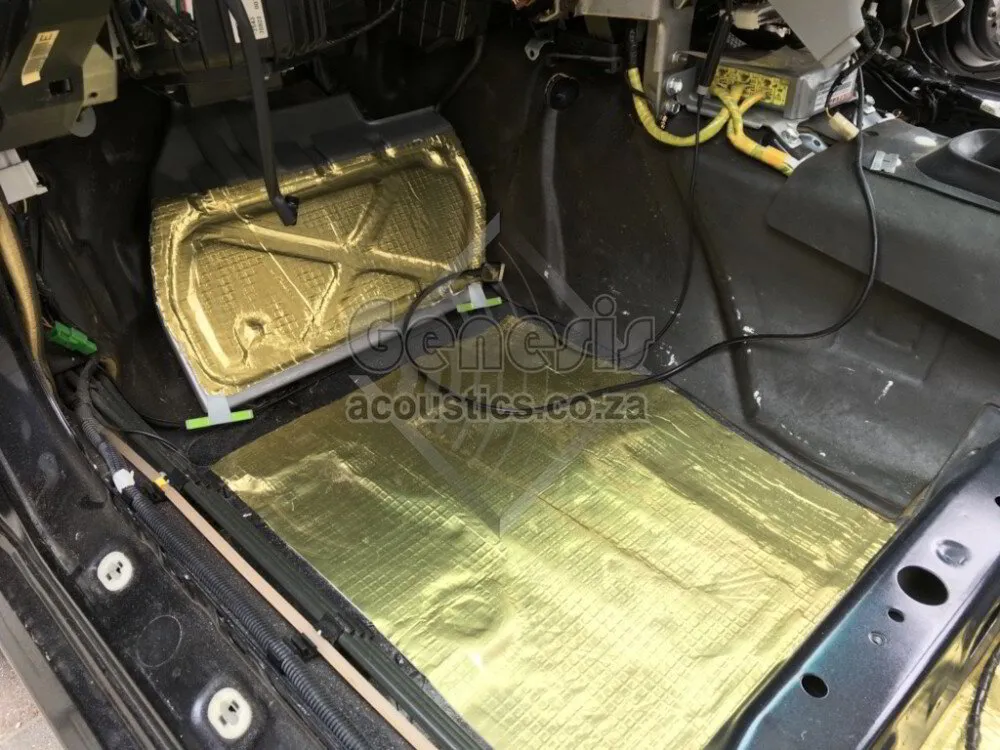
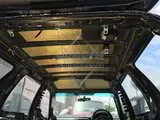
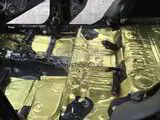
Where should G-Damp be applied in a car?
✪ Inside the doors
✪ Roof
✪ Floor and footwells
✪ Over the wheel arches
✪ Walls
✪ Boot
✪ Under the bonnet
✪ Fire wall - inside the cabin
How much G-Damp should I apply?
✪ Generally 1 - 2 layers are sufficient. G-Damp can be applied to itself to achive consecutive layers. Adding a 2nd layer will increase mass, which will help to attenuate more sound, it will also increase the frequency range over which it is effective.
✪ In rare instances, it may be necessary to add more layers but this depends on the application. The thicker the sheet metal you are seeking to damp - the more layers of G-Damp will be required e.g. 3 Layers were applied to a power generating windmill pole, with great results (see images).
Some of the benefits G-Damp provides:
✪ Enjoy a quieter ride
✪ Enhances the clarity and quality of the music by reducing interferance
✪ Increase the SPL of your sound system by adding mass behind the speakers thus projecting more sound into your car.
✪ Reduce noise from the road, tyres, engine and wind
Use together with:
✪ Apply G-Sonic sound absorption mats over the G-Damp for the ultimate quiet ride. Using these two products together pack a 1 - 2 punch for an overall better result. G-Damp tackles the vibration while G-Sonic tackles the airborne sound for a cumulative better result.
✪ Apply G-Therm over the G-Damp to tackle both noise an thermal insulation issues.
Availabilty:
✪ Ex-stock
✪ Sheet Size: 800 x 460 x 2mm (0.37m²)
✪ Box size: 25 sheets = 9.25m²
Installation Tips
✪ Measure out the area you'll be applying th G-Damp to determine whether you have sufficient sheets of G-Damp before you start. Add up the total m² of the various areas and divide by 0.37m² to determine how many sheets are required. If you're applying two layers multiple by 2, three layers by 3.
✪ Before starting make sure the metal substrate is free from dust, oil, greese and silicone. Brush clean to remove dust, wipe with a damp cloth, allow to dry then wipe with a suitable cleaning agent in a well ventilated area.
✪ Do not apply G-Damp over old, hard bitumen based mats - for optimum results these should be removed and the surface cleaned prior to the application of the G-Damp.
✪ G-Damp is flexible and will follow curves but it'll be necessary in places to make some relief cuts to achieve full cover.
Installation tools required:
✪ Roller: Use the provided roller to apply even pressure to the G-Damp mats and achieve a proper bond (essential for good performance) with the metal substrate.
✪ Stanley knife or scissors
✪ The edge of the foil can be sharp - so you may want to wear some comfortable work gloves
Other Uses
Power Generating Windmill - To reduce vibration and noise
> 3 Layers were applied to achieve the desirable outcome
Water Pump Housing - To add mass and attenuate noise transfer